- Thermal Management: The Role of Heatsinks, Fans, and Liquid Cooling
- Understanding Thermal Management Fundamentals
- The Role of Heatsinks in Heat Dissipation
- Comparing Air Cooling and Liquid Cooling Solutions
- Optimizing Computer Fans for Airflow
- Preventing Hardware Overheating
- Best Practices for Overclocking Temperature Control
- Choosing the Right PC Cooling System for Your Build
Thermal Management: The Role of Heatsinks, Fans, and Liquid Cooling
Managing heat from powerful components is a critical challenge in PC building. Whether assembling a first custom rig or fine-tuning a high-performance workstation, understanding thermal management fundamentals prevents performance throttling and ensures long-term reliability. This guide walks readers through everything from basic heat dissipation to advanced cooling solutions, empowering them to maximize system performance while maintaining optimal temperatures.
Understanding Thermal Management Fundamentals
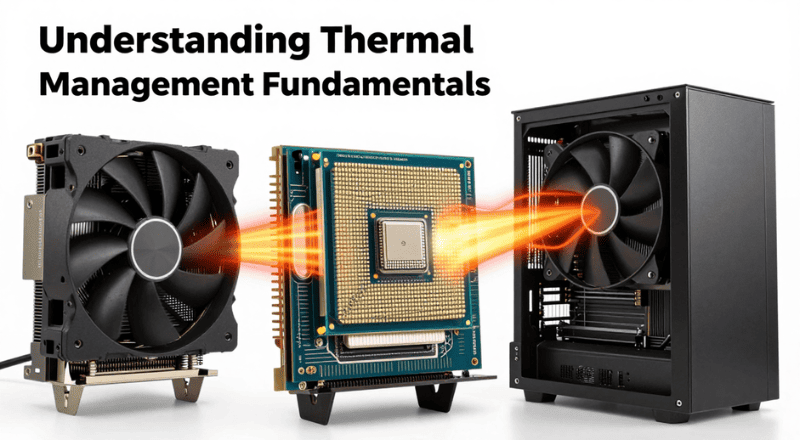
Thermal management encompasses all methods and technologies used to control the temperature of computer components, ensuring they operate within safe thermal boundaries. At its core, thermal management relies on the fundamental principles of heat transfer: conduction, convection, and radiation. When a CPU or GPU processes data, it generates electrical resistance in its transistors, which is converted into heat. Without proper thermal management, this heat accumulates rapidly, causing components to slow down (thermal throttling) or, in severe cases, sustain permanent damage.
The importance of effective thermal management cannot be overstated in modern computing. Today’s processors and graphics cards run at unprecedented performance levels. With high-end CPUs consuming over 200 watts during heavy loads and enthusiast-grade GPUs pushing past 350 watts. This concentrated heat output requires sophisticated cooling solutions that can handle substantial thermal loads while maintaining whisper-quiet operation. Understanding these fundamentals helps builders make informed decisions about cooling components and system configuration.
Heat management in PC systems follows a predictable flow from the heat source to the ambient environment. The processor or graphics card transfers heat to a cooling solution via thermal interface material, which fills microscopic gaps between surfaces. From there, the cooling solution dissipates the heat into the surrounding air or circulating liquid. Effective thermal performance depends on every link in this chain functioning properly, making it essential to understand each component’s role in the overall cooling strategy.
Modern PC cooling systems address three primary thermal challenges: removing heat from the source quickly, transporting that heat away from critical components, and dispersing it into the environment efficiently. Each cooling method—from simple passive heatsinks to complex custom liquid loops—approaches these challenges differently, and selecting the right solution depends on understanding both the thermal demands of the system and the user’s performance expectations.
The Role of Heatsinks in Heat Dissipation
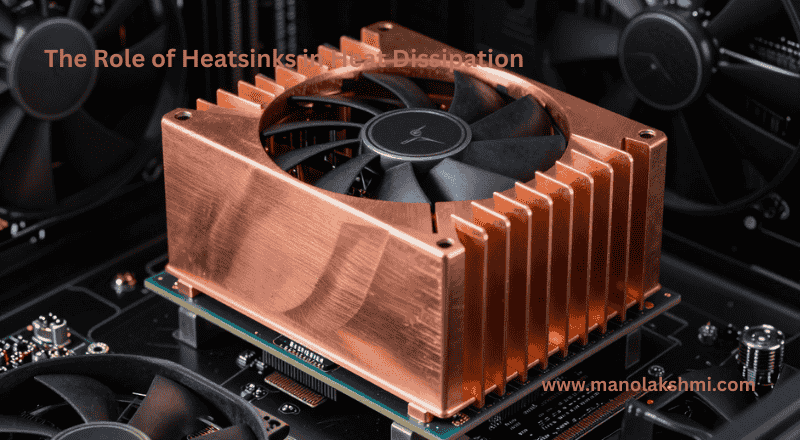
Heatsinks form the foundation of virtually every PC cooling solution, serving as the critical interface between hot components and the cooling medium. A heatsink is a passive cooling device made from materials with high thermal conductivity—typically aluminum or copper—that absorbs heat from a component and spreads it across a larger surface area. This increased surface area allows heat to transfer more efficiently to the surrounding air through convection, making heatsinks essential for maintaining acceptable temperatures.
The effectiveness of a heatsink depends on several factors, including its material, fin design, surface area, and the thermal interface material used during installation. Copper heatsinks offer superior thermal conductivity compared to aluminum, making them preferred for high-performance applications, though their higher weight and cost limit their use in mainstream products. Fin geometry plays a crucial role as well; fins create more surface area for heat dissipation. But they must allow adequate airflow to carry away the transferred heat.
Active cooling versus passive cooling represents a fundamental distinction in heatsink design. Passive heatsinks rely solely on natural convection and radiation to dissipate heat, offering silent operation but requiring larger surface areas to achieve adequate cooling. Active heatsinks incorporate fans that force air across the fins, dramatically improving heat transfer efficiency while introducing noise. Most PC cooling solutions combine both approaches, using fans to enhance heatsink performance while maintaining the reliable operation that heatsinks provide.
In CPU cooling applications, heatsinks connect to the processor through a heat spreader, with thermal paste filling microscopic imperfections in the contact surfaces. Graphics cards use similar principles, with GPU coolers typically featuring larger heatsinks designed to handle the substantial heat output of modern graphics processors. Some high-performance components even incorporate vapor chamber technology within their heatsinks, using phase-change heat transfer for improved efficiency. Understanding heatsink design helps builders appreciate why different cooling solutions perform as they do and choose appropriate options for their systems.
Comparing Air Cooling and Liquid Cooling Solutions
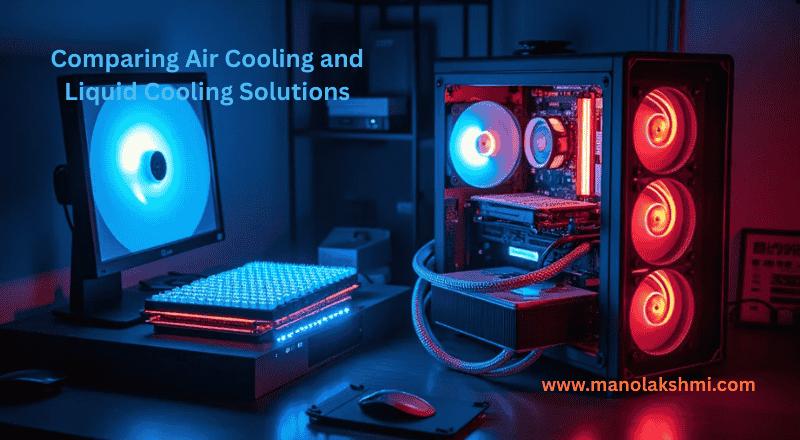
The debate between air cooling and liquid cooling represents one of the most discussed topics among PC enthusiasts, and understanding the strengths and weaknesses of each approach helps builders make informed decisions. Air cooling utilizes heatsinks combined with fans to dissipate heat into the surrounding air, offering proven reliability, straightforward installation, and generally lower cost than liquid solutions. Modern air coolers have evolved significantly, with large tower heatsinks and multiple heat pipes providing cooling performance that rivals many liquid solutions.
Liquid cooling systems circulate coolant through a closed loop, absorbing heat from components and carrying it to a radiator where the heat dissipates into the air. This approach offers several theoretical advantages: liquid can transport more heat per unit volume than air, and radiators can be larger than air coolers without creating airflow obstruction inside the case. These benefits translate into real-world performance advantages for high-end systems, where liquid cooling consistently achieves lower temperatures under extreme loads.
However, the liquid cooling vs. air cooling discussion requires nuance beyond simple temperature comparisons. Air cooling provides exceptional reliability—no pumps to fail, no tubes to develop leaks, and no coolant to evaporate over time. For most users, modern air coolers deliver more than sufficient thermal performance while eliminating the maintenance requirements and potential failure points of liquid systems. Premium air coolers often outperform entry-level AIO liquid coolers, and choosing between the two approaches is less clear-cut than some enthusiasts suggest.
Practical considerations often tip the balance toward one solution or another. Users seeking silent operation might find that large tower air coolers provide adequate cooling with minimal fan noise. while those building in small form-factor cases may benefit from the flexible radiator placement that liquid cooling enables. Enthusiasts pursuing extreme overclocking typically lean toward custom liquid cooling loops that can achieve temperatures impossible with air solutions. Accepting the additional complexity and cost in exchange for maximum performance. The best choice ultimately depends on the specific system requirements, budget constraints, and user priorities.
Optimizing Computer Fans for Airflow
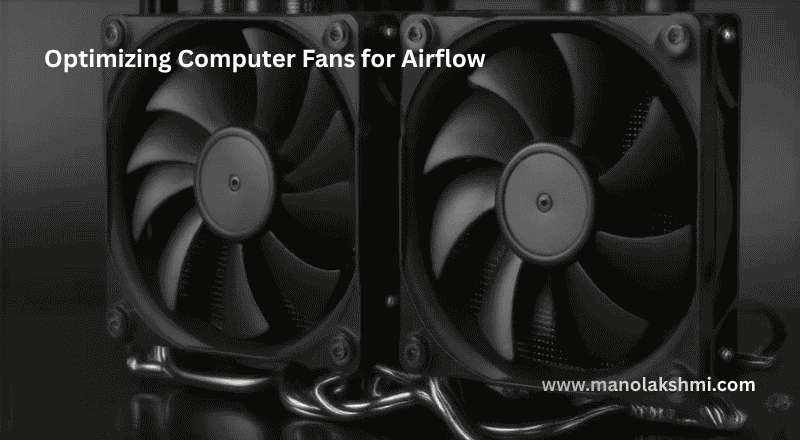
Computer fans serve as the driving force behind active cooling solutions, moving air across heatsinks, through cases, and directly over components to carry away generated heat. Selecting the right fans and configuring them properly can dramatically improve a system’s thermal performance and acoustic characteristics. Understanding fan specifications—size, RPM (rotations per minute), CFM (cubic feet per minute), and static pressure. Helps builders make appropriate choices for different cooling roles within a PC.
Fan size directly impacts cooling capacity and noise characteristics. Larger fans move more air at lower RPMs than smaller fans, typically resulting in quieter operation for equivalent cooling performance. The most common sizes include 120mm and 140mm for case fans and radiators. With 80mm and 92mm fans serving in older or compact configurations. When possible, larger fans generally provide better airflow characteristics. Though the mounting options in a given case may limit available sizes.
Static pressure becomes particularly important when fans must push air through restrictive paths. Such as through heatsink fins or dense dust filters. High static pressure fans excel at forcing air through restricted openings, making them ideal for heatsink mounting or radiator installation. Conversely, high-airflow fans perform better in open-air applications where minimal resistance exists, such as case intake or exhaust positions. Mixing fan types strategically throughout a build optimizes overall cooling efficiency.
Fan curves represent software-defined relationships between temperature and fan speed, allowing cooling systems to respond dynamically to thermal demands. Modern motherboards and fan controllers can automatically adjust fan speeds based on component temperatures, speeding up when workloads increase and slowing during idle periods. Creating appropriate fan curves balances cooling performance. Against noise levels, running fans at minimum speeds during light use while ramping up aggressively when thermal headroom diminishes. Many users find that custom fan curves provide the best compromise between cooling efficiency and acoustic comfort.
Preventing Hardware Overheating
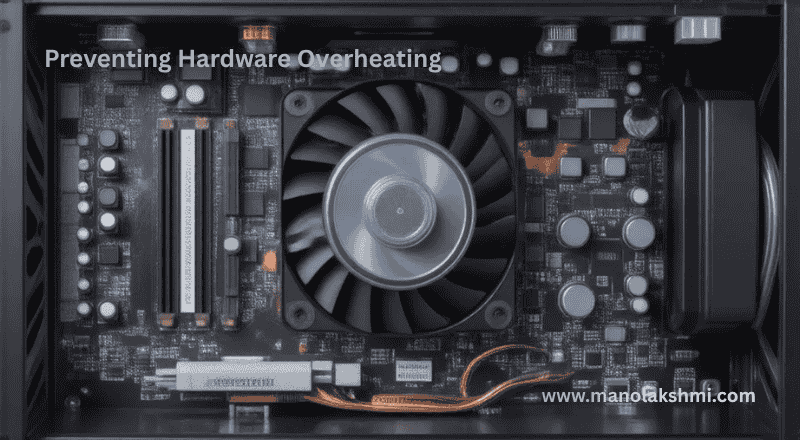
Hardware overheating prevention starts with understanding the warning signs that indicate thermal problems and the underlying causes that create them. Common symptoms of overheating include unexpected system crashes. (or) shutdowns, artificial performance throttling where components run slower than expected. Elevated fan speeds that persist during light tasks and physical indicators like unusually hot case temperatures. Recognizing these signs early helps prevent the catastrophic hardware failures that severe overheating can cause.
Several factors commonly contribute to overheating problems in PC systems. Dust accumulation on heatsink fins and in intake filters restricts airflow significantly, reducing cooling efficiency over time. Improper thermal paste application—either too little or too much—compromises the thermal connection between components and heatsinks. Poor case airflow geometry, including inadequate fan positions or obstructed airflow paths, prevents efficient heat expulsion. In some cases, aging thermal interface materials lose effectiveness, causing temperatures to rise gradually as systems age.
Preventive measures against overheating start with regular maintenance schedules that include cleaning dust from components and replacing thermal interface material when necessary. Ensuring proper case fan configuration with adequate intake and exhaust positions maintains consistent airflow through the system. Monitoring temperatures using software tools helps identify developing problems before they cause failures, allowing users to address issues proactively. For systems running particularly hot, improving ambient conditions—reducing room temperature or improving case ventilation—can yield meaningful temperature improvements.
Hardware overheating prevention extends to thoughtful system-building practices that anticipate thermal challenges. Planning component placement to avoid heat stacking, where one component’s exhaust directly heats another component’s intake, creates more efficient overall thermal performance. Leaving adequate clearance around heatsinks and fans ensures unimpeded airflow. Selecting appropriately rated cooling solutions for the installed components. Rather than assuming stock coolers will suffice, it sets systems up for reliable long-term operation.
Best Practices for Overclocking Temperature Control
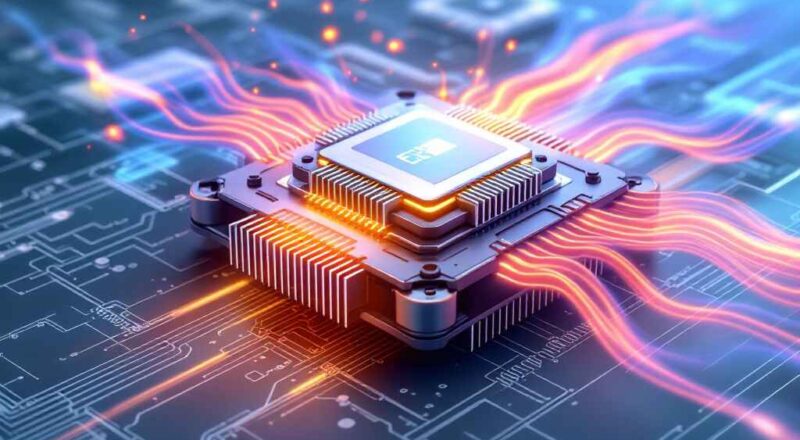
Overclocking, the practice of running components at frequencies higher than manufacturer specifications. Inherently increases heat generation and places additional demands on cooling systems. Effective overclocking temperature control requires understanding this relationship and planning cooling solutions that accommodate the additional thermal load. Enthusiasts pursuing stable overclocks must treat thermal management as a primary consideration rather than an afterthought.
Successful overclocking starts with adequate cooling headroom—choosing cooling solutions rated well. Above, the thermal output of stock components provides latitude for pushing frequencies higher. Premium tower air coolers or quality liquid cooling solutions become essential when pursuing meaningful overclocks. As stock cooling solutions rarely accommodate the increased power consumption and heat that overclocking generates. The investment in robust cooling often determines how much headroom exists for stable frequency increases.
Temperature monitoring becomes crucial during overclocking activities, as real-time feedback guides decisions about stability and maximum achievable speeds. Users should run stress tests that simulate worst-case workloads while monitoring temperatures closely. Adjusting clock speeds and voltages until stable operation emerges within safe temperature ranges. Understanding each component’s specific temperature limits—typically ranging from 90 to 105 degrees Celsius for modern processors—helps avoid crossing into dangerous territory while pursuing performance.
Beyond hardware considerations, thoughtful BIOS settings and software configurations contribute to effective temperature control during overclocking. Enabling enhanced sleep states and power management features reduces idle temperatures and power consumption. Setting appropriate fan curves that respond aggressively to temperature increases ensures cooling capacity scales with demand. Many overclocking guides recommend gradual voltage increases rather than jumping to high voltages immediately. As higher voltages generate substantially more heat while providing diminishing frequency returns.
Choosing the Right PC Cooling System for Your Build
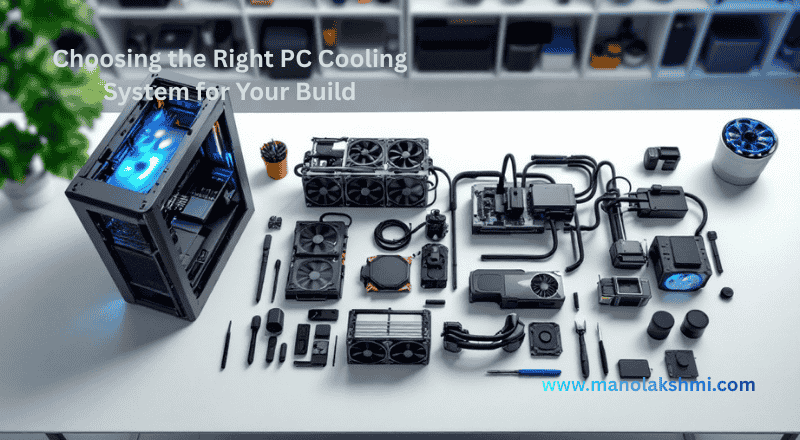
Selecting the appropriate cooling system requires balancing multiple factors: performance requirements, budget constraints, acoustic preferences, case compatibility, and aesthetic goals. PC building tips from experienced enthusiasts consistently emphasize matching cooling solutions. To actual use cases rather than simply purchasing the most expensive option available. Understanding how these factors interact helps readers make decisions that serve their specific needs.
Performance requirements vary dramatically between different user profiles. Casual users running office applications and web browsing rarely need elaborate cooling solutions. As even stock coolers handle the minimal heat output of basic workloads effectively. Content creators, gamers, and professionals running demanding applications benefit from upgraded cooling that maintains lower temperatures and quieter operation. Extreme users pursuing heavy overclocking or workstation workloads require premium cooling solutions capable of handling sustained heavy thermal loads.
Budget considerations influence cooling selection significantly, and the market offers quality options across nearly every price point. Entry-level tower air coolers typically outperform stock coolers at reasonable prices, making them excellent upgrades for most users. Mid-range options, including larger air coolers and budget AIO liquid coolers, provide enhanced performance for reasonable premiums. Enthusiasts seeking absolute maximum performance can invest in premium coolers or custom liquid loops. Though these options carry substantial cost premiums that may not justify the performance returns for typical users.
Case compatibility sometimes determines cooling options regardless of preference or budget. Small form factor cases may only accommodate low-profile coolers. (or) compact liquid solutions, while spacious mid-tower cases offer flexibility for large air coolers and various radiator sizes. Measuring case clearances before purchasing cooling components prevents frustrating compatibility issues during assembly. Similarly, motherboard clearance around CPU sockets—particularly with large heatsinks and VRM components—requires checking before finalizing cooling selections.
Future-proofing considerations suggest selecting cooling solutions that accommodate potential system upgrades. Purchasing a cooler rated for higher thermal loads than current components require provides headroom for future upgrades without requiring additional cooling investment. Modular liquid cooling systems allow expansion to additional components as builds evolve. Premium air coolers with broad socket compatibility remain useful across multiple system builds, making them excellent long-term investments.
Building a PC that runs cool and quiet requires thoughtful attention to thermal management throughout the planning and assembly process.
Every cooling choice, from basic heat transfer principles to air versus liquid solutions, directly affects system performance. Applying this article’s guidance enables readers to build high-performing systems that maintain reliable temperatures for years. Ultimately, investing in proper cooling pays off through extended component longevity, quieter operation, and the confidence of knowing the system runs within safe thermal boundaries.
Click here, please visit the following: Understanding Computer Memory: Volatile vs. Non-Volatile

Elevate your lifestyle with our curated content on technology, sports, travel, health, and fashion. Stay ahead of the trends and make informed choices.